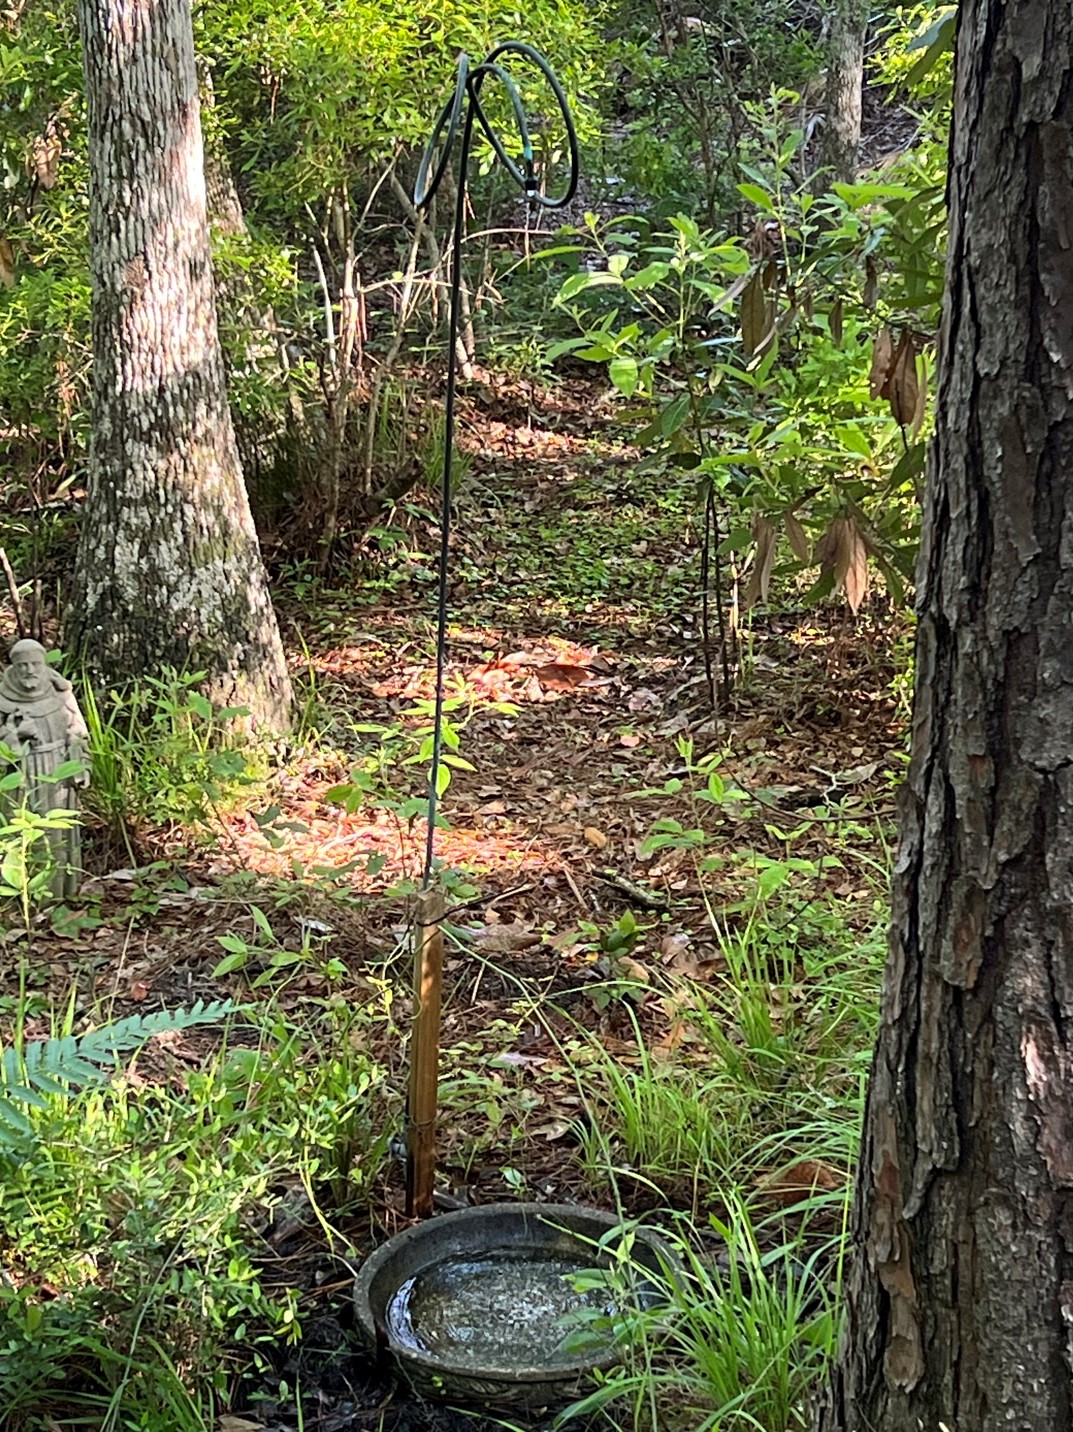
Birds need water like all animals, and birders will tell you that small natural or artificial sources of water are great places to see birds. Birdbaths are a great start but, adding a source of dripping water enhances the chances of attracting birds for drinking and bathing. The constantly moving water also prevents mosquitoes from laying eggs. The following steps toward setting up a birdbath dripper are dedicated to my late friend and naturalist Charlie Brenke, who “told” me I needed a dripper over 20 years ago. My dripper still works well, and I think of Charlie every time I watch birds use it.
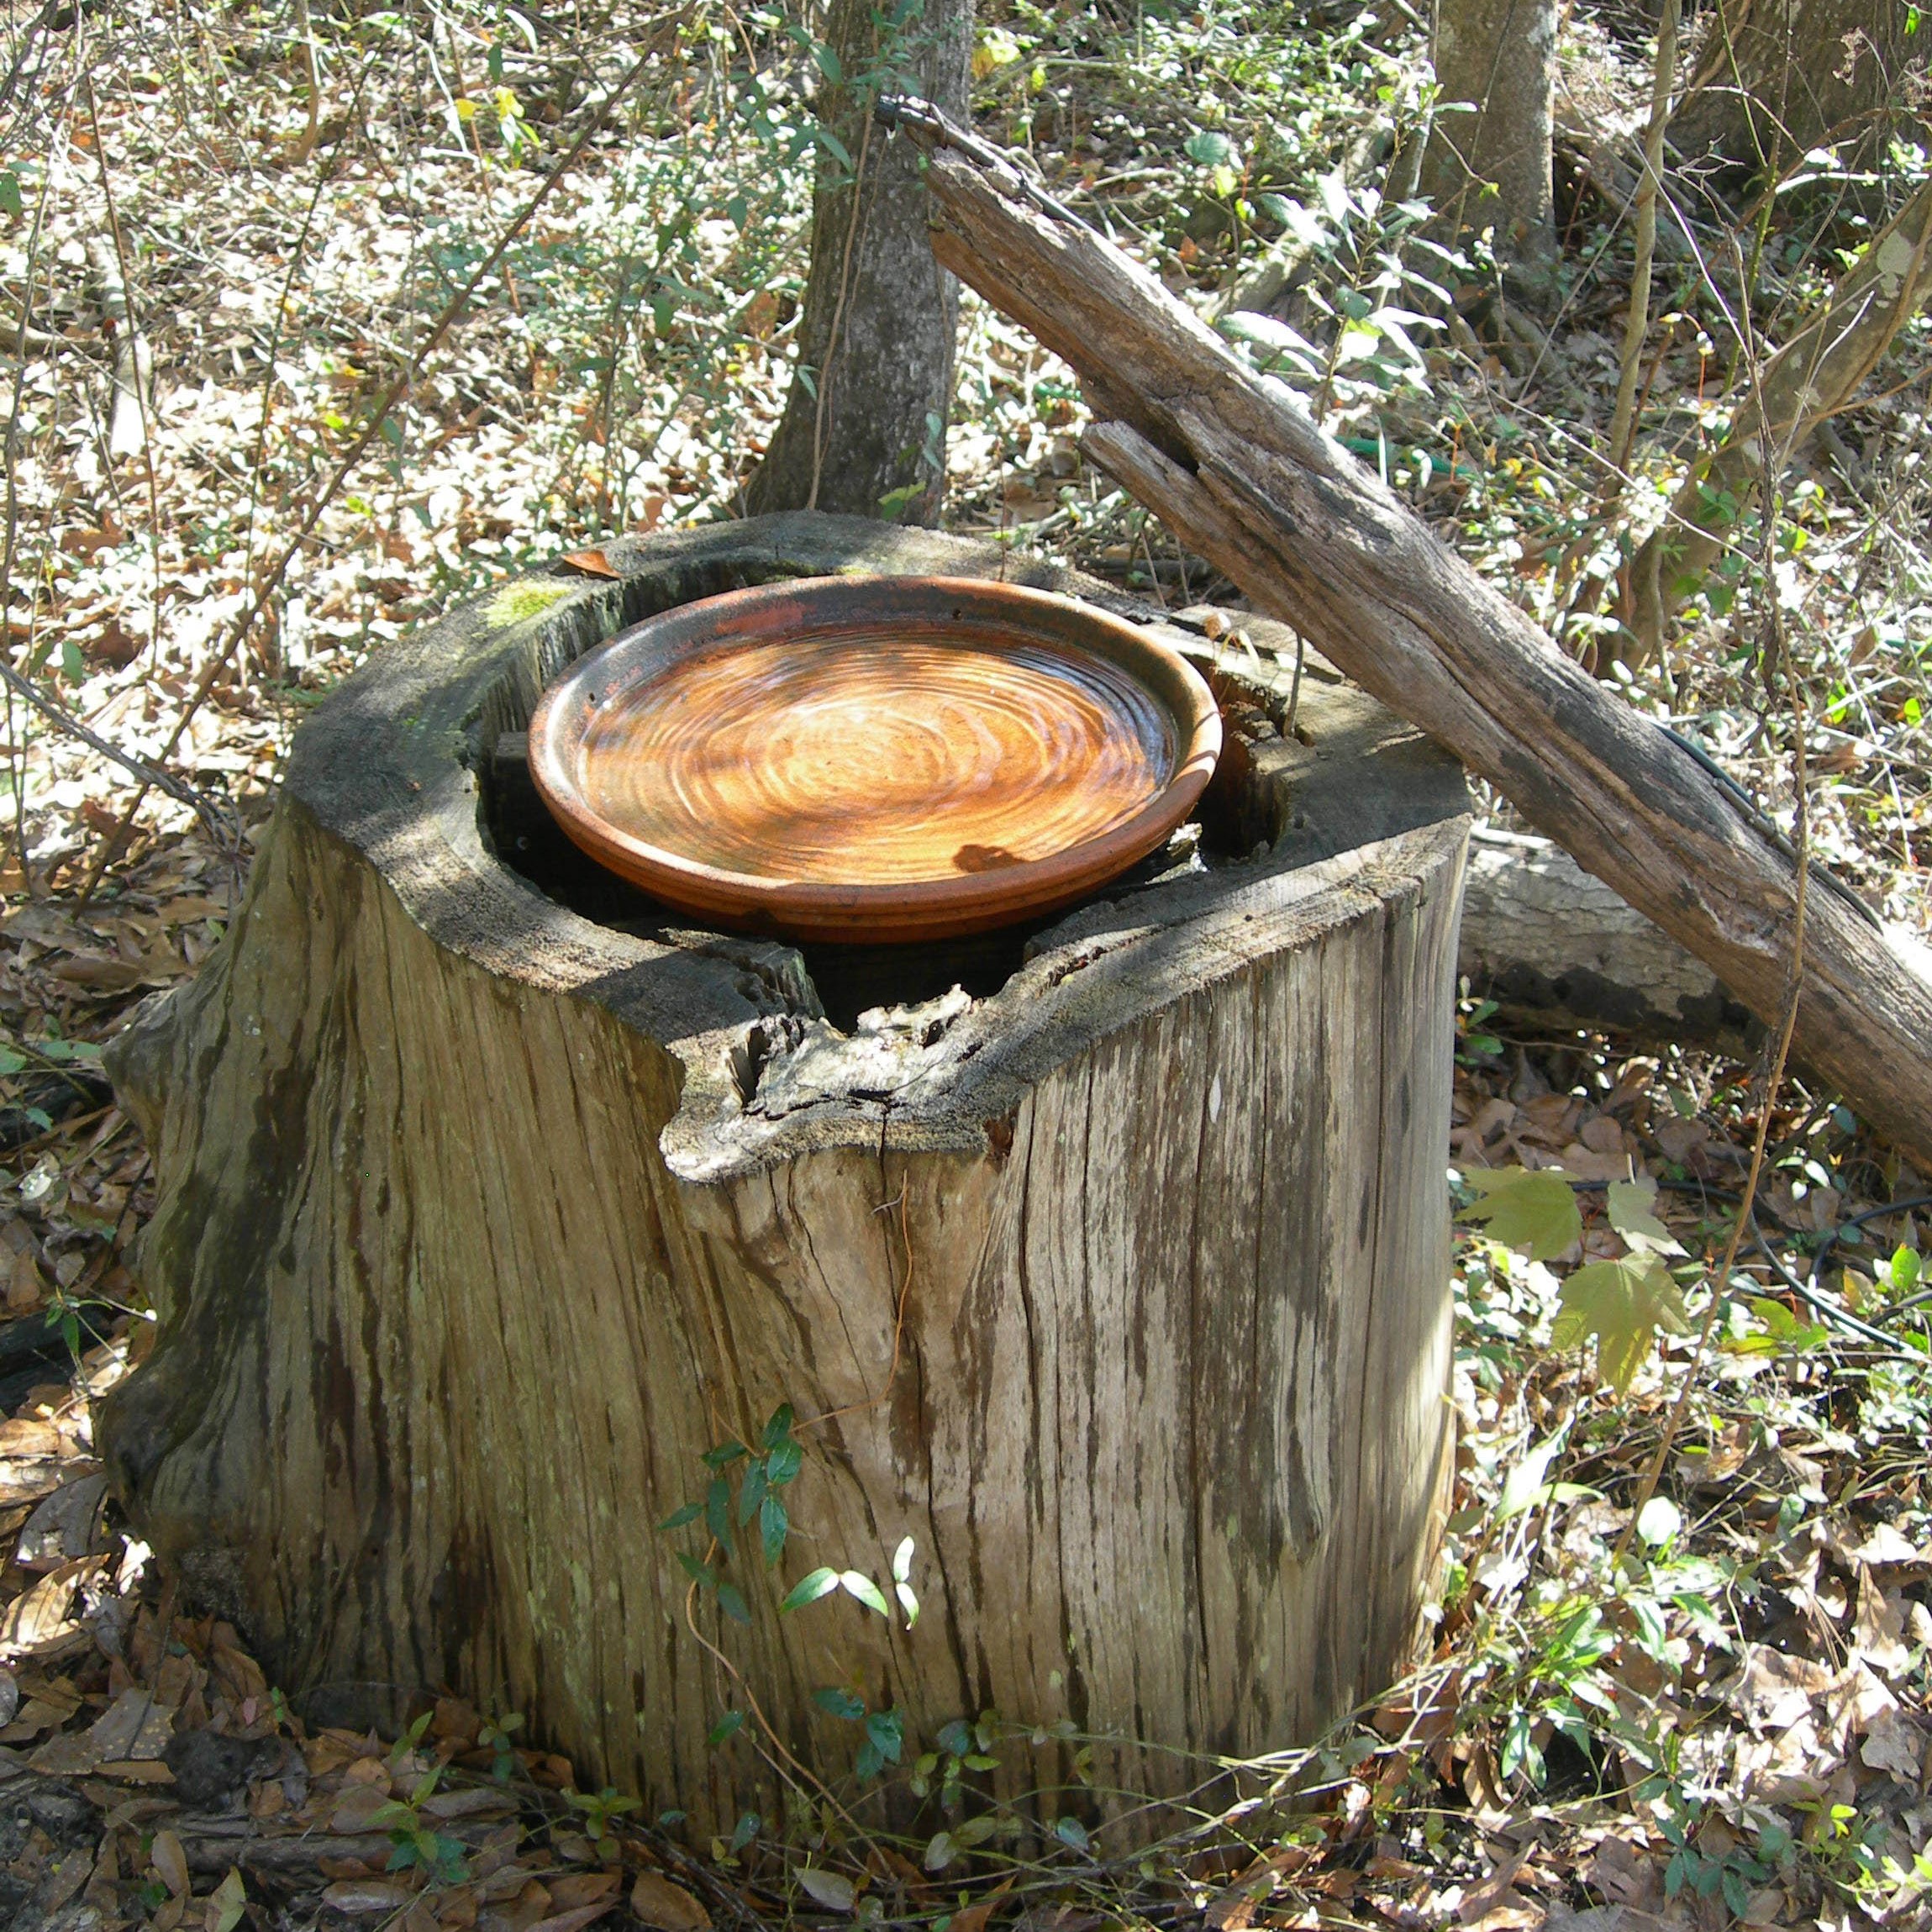
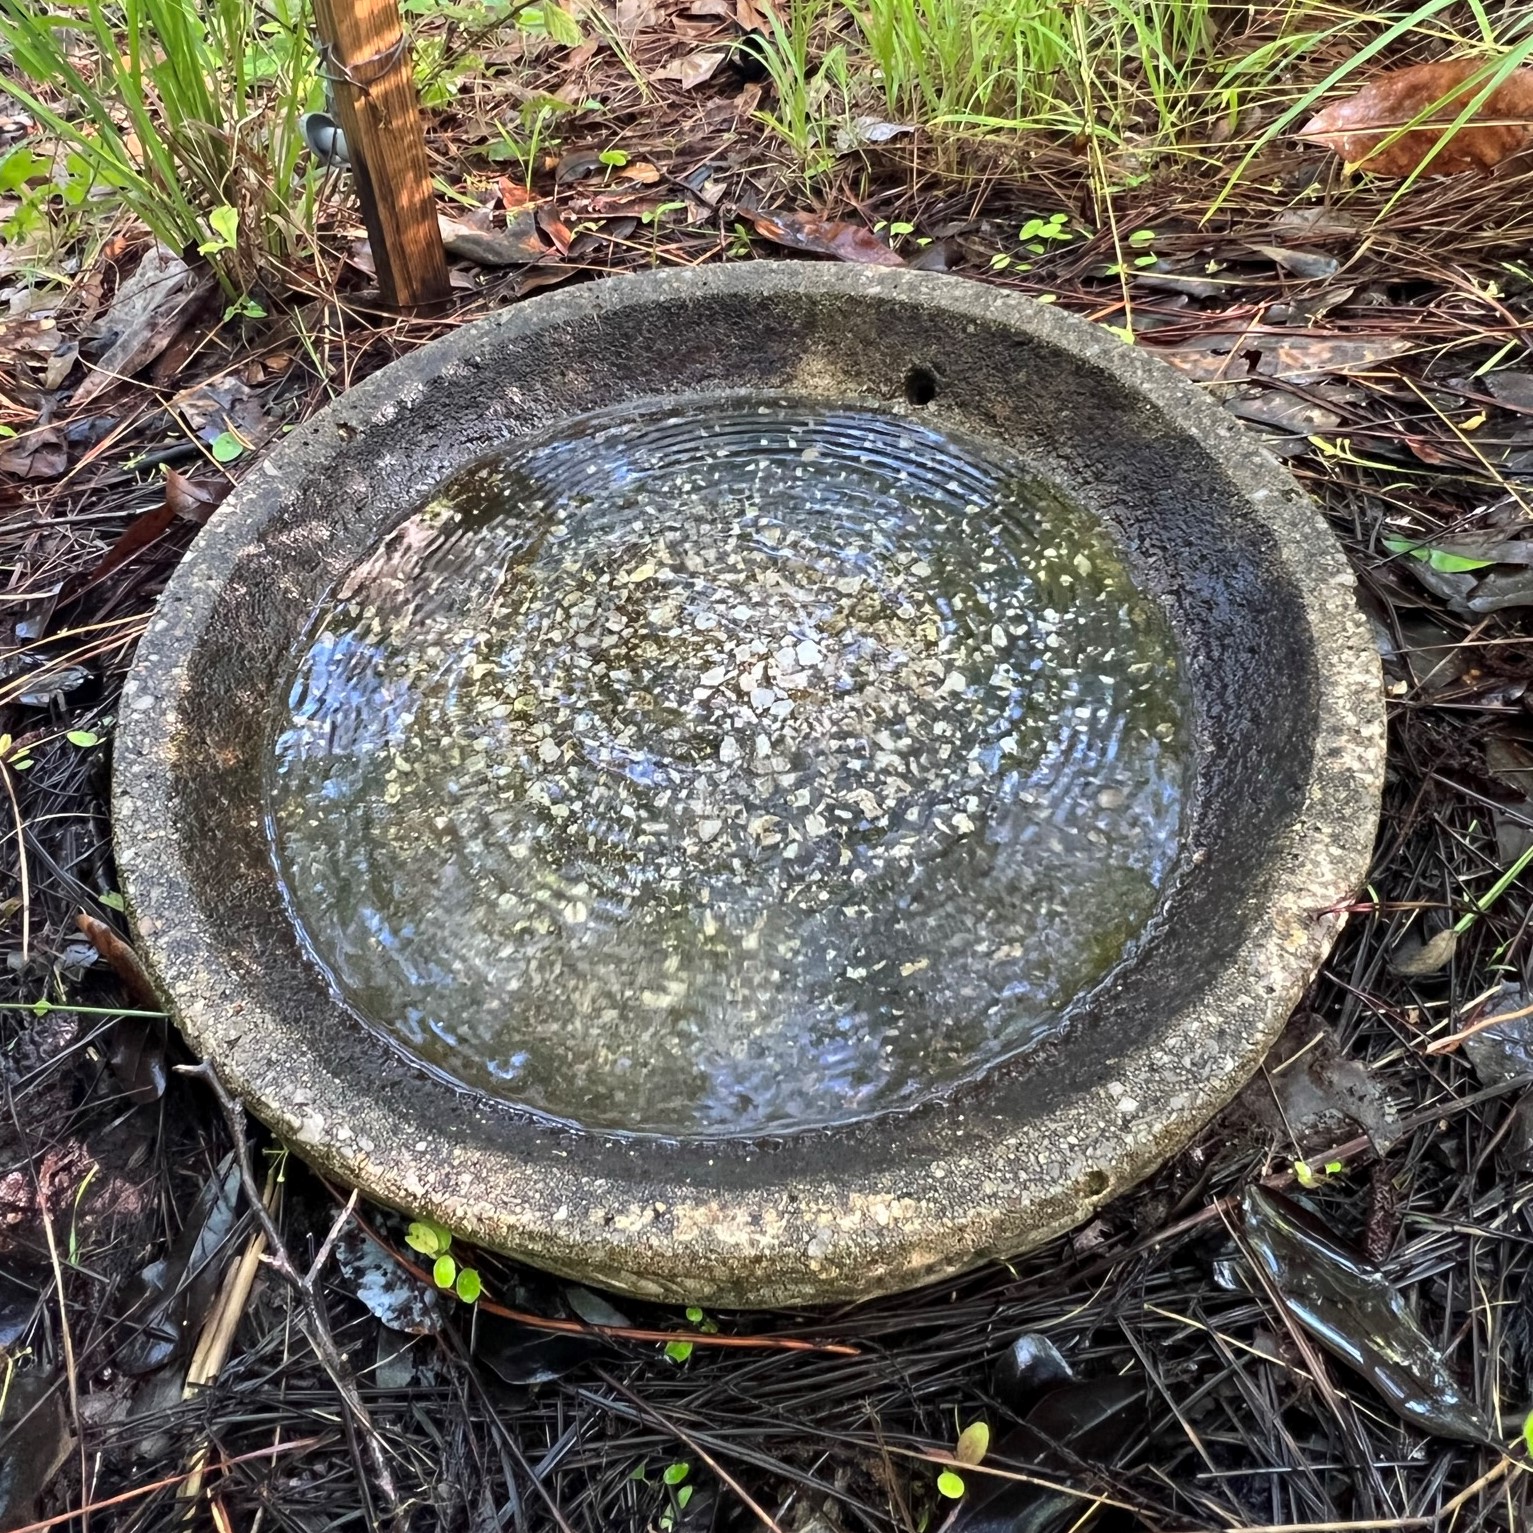
The Bath – Birds squat to take a bath, they do not swim, and most commercially sold baths are often too deep. Birds may drink from the edges but, will not bathe. The ideal depth for a bath is 1 inch – accommodating large and small species. If your bath is too deep, drilling one or two ¼ to ½ inch- diameter holes through the sides at the 1-inch level will resolve the issue. Terracotta saucers are an inexpensive means of creating a bath, placed directly on the ground, on a stump, or on another object but, check the depth. If it is too deep, drill a hole or two for drainage (a glass or concrete drill bit works well but, go slow).
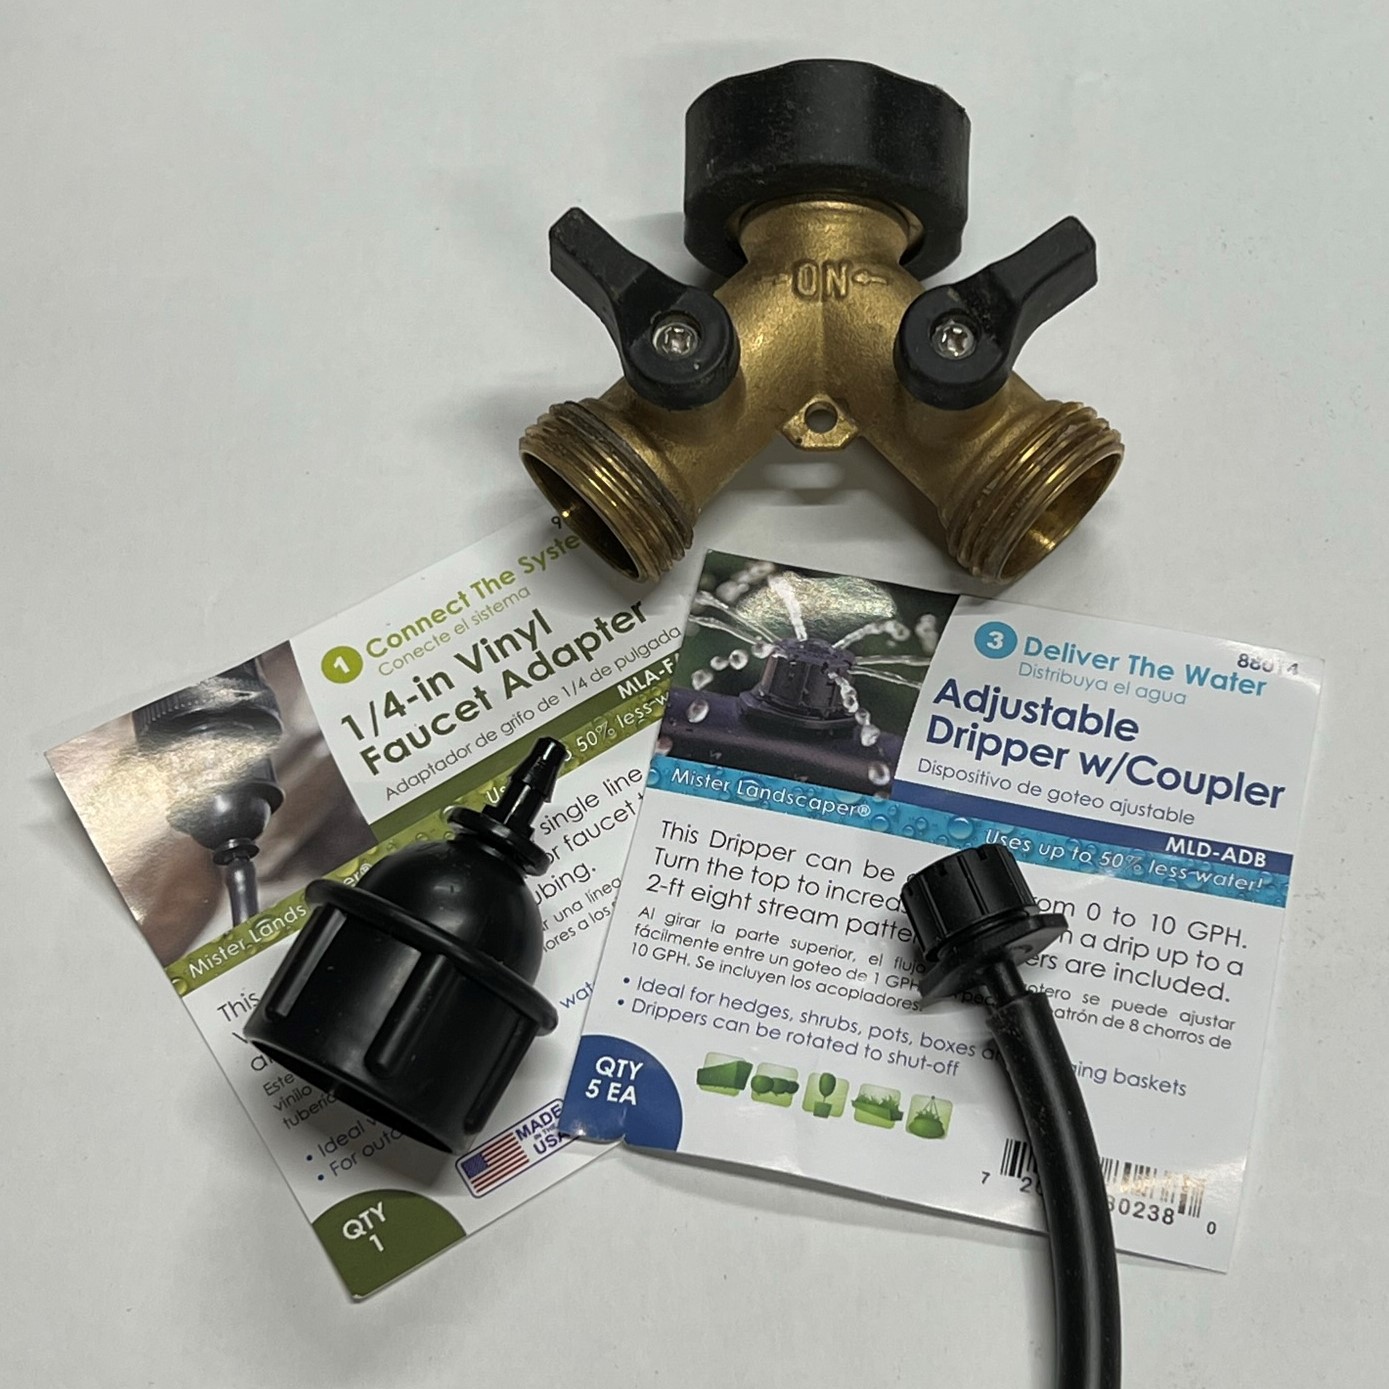
The Dripper – The dripper is simply a source of water, delivered through a small-diameter tube (¼-inch diameter), set no lower than about 2 feet above the bath. Water is most-commonly supplied through a garden hose laid or buried from a nearby water spigot (a rain barrel is also an option). Volume can be controlled from the spigot and the end of the tube. You may want to install a Y-connector to your spigot to separate the dripper system from your hose. You will need a transition device between the end of your hose and the smaller tubing that feeds the dripper. An adjustable dripper tip, placed on the end of the tubing, is an ideal way to adjust the rate of discharge. These items are standard parts of landscape irrigation systems, readily available from local hardware outlets.
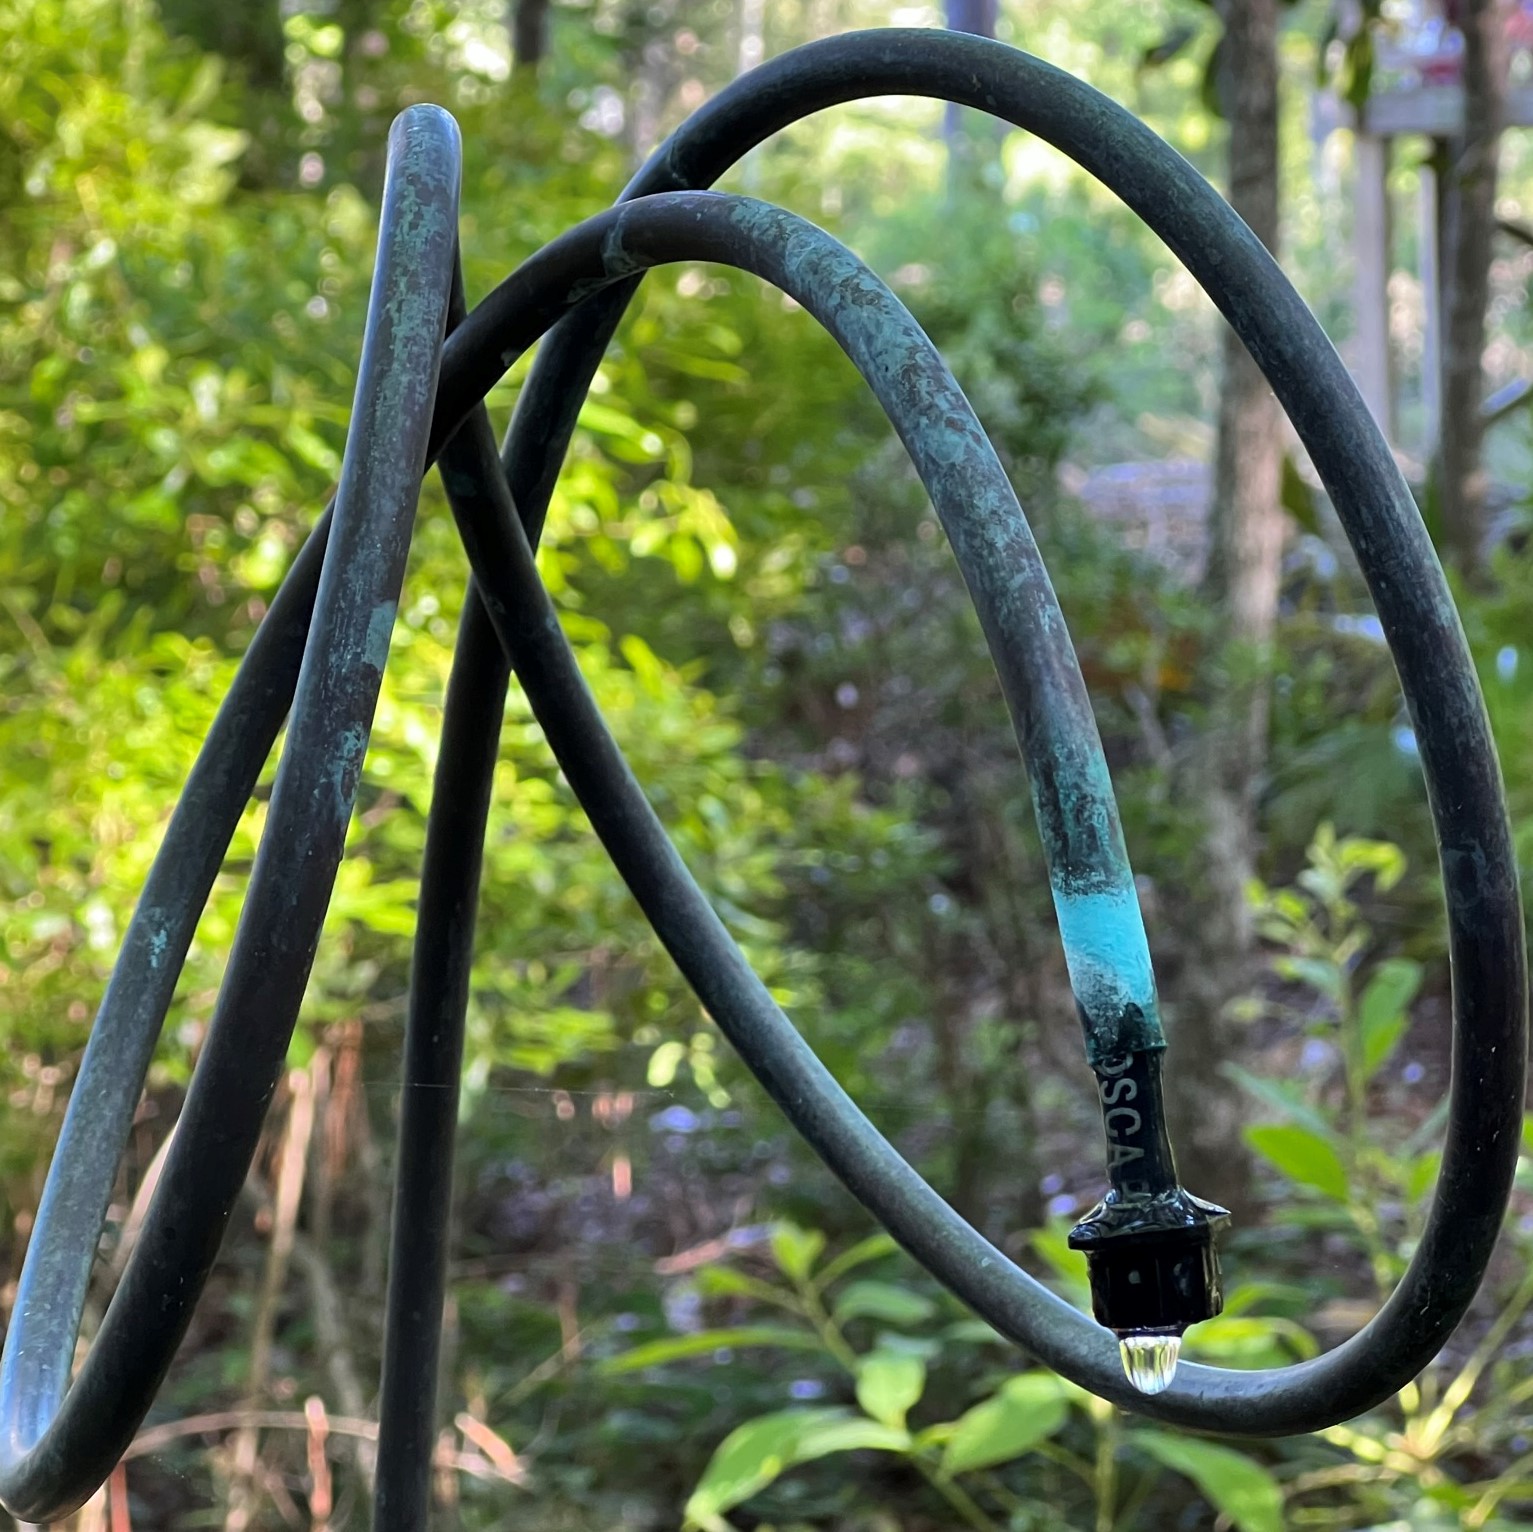
The Setup – Options for placing the dripper tube above the bath can be as simple or complicated as you desire. A piece of wood or branch angled from the ground to a position above the bath is an easy option. Inspired by my friend Charlie, I used a 10-foot section of 3/8-inch diameter copper tubing to shape a decretive piece that held a bit of tubing and dripper tip at its open end, and provided graceful loops of copper that small birds often use to perch as they drink water directly from the tip. The coiled section sits about 5 feet above the bath, the entire piece is attached to a 2-inch square wooden post, rising about 24 inches high. Regardless of approach, the trick is to use the valve at the spigot and dripper tip to deliver a steady drip of water, timed about every second or two (more than that may deter use of the bath). You will have to fill the hose and tubing to start. From there, the spigot valve can easily be set halfway.
Keep it Clean – As with any bird bath, it is important to wash it out occasionally to keep it from getting too funky. A nice patina of algae, as I have in mine is fine, but not a layer of rotting leaves. A good rinse with a hose every now and then does the trick. If you have drain holes in your bath, ensure that they do not get clogged with debris, otherwise the bath will become too deep.
For the non-DIYers, dripper kits are available, but I can assure you this is not hard to do. Have fun watching birds bathe in your bath. It can be quite entertaining.
Hope to see you in our great outdoors!


